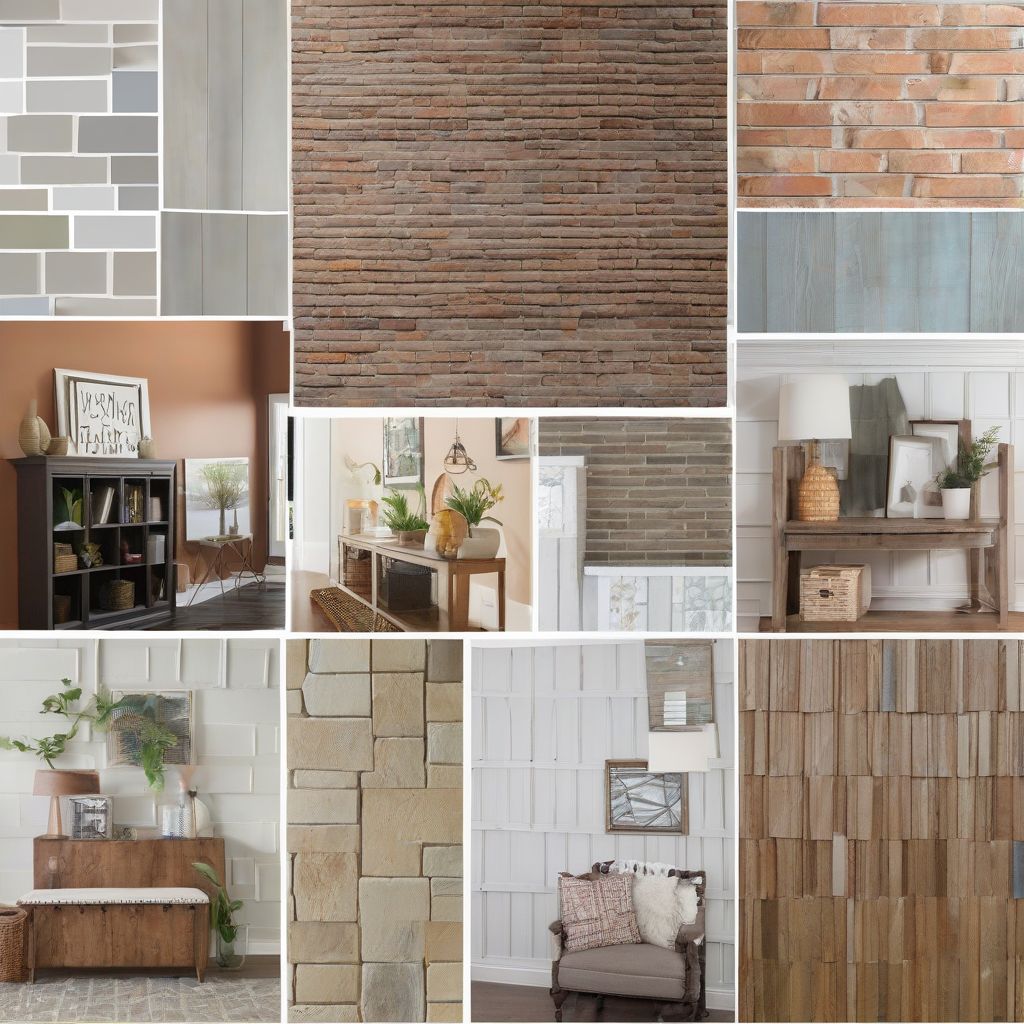
Imagine this: you walk into your living room, and your eyes are immediately drawn to a captivating focal point – a stunning feature wall that you designed and crafted yourself. It’s not just a wall anymore; it’s a statement piece, a reflection of your personality, and a testament to your creativity. The best part? Achieving this stunning transformation doesn’t require an interior designer or a hefty budget. With a little inspiration, some elbow grease, and this comprehensive guide, you can create a DIY feature wall that will have everyone talking.
Planning Your Masterpiece: Choosing the Right Design
Before you pick up a paintbrush or hammer, take some time to carefully plan your feature wall. Here’s what to consider:
1. Define Your Style
What kind of ambiance are you trying to create? Do you lean towards modern minimalism, rustic charm, or eclectic vibrancy? Browsing through interior design magazines, online platforms like Pinterest, and even visiting home décor stores can provide a wealth of inspiration and help you define your unique style.
2. Choose Your Material
The material you choose will significantly impact the overall look and feel of your feature wall. Here are some popular options:
- Paint: The most budget-friendly and versatile option, paint allows for endless creativity with colors, patterns, and techniques. Consider bold geometric shapes, subtle ombre effects, or even a hand-painted mural for a truly personal touch.
- Wallpaper: From classic damask prints to modern graphic designs, wallpaper offers a quick and easy way to add visual interest and texture to your wall. Look for peel-and-stick options for a renter-friendly alternative.
- Wood: Warm, inviting, and timeless, wood paneling can create a cozy and rustic feel. Experiment with different plank sizes, arrangements, and finishes for a unique look.
- Brick: Exposed brick walls add an industrial-chic vibe and can be achieved by removing existing plaster or using brick veneer for a more budget-friendly approach.
- Stone: Natural stone adds a touch of luxury and sophistication. Consider using stacked stone veneer for a more DIY-friendly approach.
 DIY Feature Wall Ideas for Your Living Room
3. Consider Your Space
The size and layout of your living room will influence your design choices. A small room might benefit from a subtle accent wall with a light color palette, while a larger space can handle bolder colors and patterns. Consider the existing furniture and décor when choosing your design to ensure a cohesive look.
Bringing Your Vision to Life: Tools and Techniques
Now that you have a clear vision, it’s time to gather your tools and get to work! Here’s a step-by-step guide to help you through the process:
1. Preparation is Key
- Clean the Wall: Start with a clean slate. Wash the wall thoroughly with soap and water, and allow it to dry completely before proceeding.
- Protect Your Surroundings: Cover your floors and furniture with drop cloths to prevent paint splatters or dust. Tape off the edges of the wall using painter’s tape for crisp lines.
2. Material Application
- Painting: If you’re painting your feature wall, apply a primer first to create an even surface for the paint to adhere to. Use a quality paint roller for large areas and a brush for edges and corners. Apply multiple thin coats for a smooth and professional finish.
- Wallpaper: Measure your wall carefully and cut the wallpaper to size, leaving a few extra inches at the top and bottom for trimming. Apply wallpaper paste evenly to the back of the paper and carefully smooth it onto the wall, working from the center outwards to eliminate air bubbles.
- Wood/Brick/Stone: Installing wood planks, brick veneer, or stone tiles requires more advanced DIY skills. If you’re not comfortable tackling these materials yourself, consider hiring a professional for assistance.
3. Adding Finishing Touches
- Trim and Molding: Consider adding decorative trim or molding around your feature wall to create a polished and finished look.
- Lighting: Enhance the impact of your feature wall with strategically placed lighting. Wall sconces, track lighting, or even string lights can add drama and highlight the textures and dimensions of your design.
Maintaining Your Masterpiece
Once your DIY feature wall is complete, take pride in your handiwork and enjoy the transformation of your living room! To keep your masterpiece looking its best, follow these simple maintenance tips:
- Dust Regularly: Use a soft duster or a slightly damp cloth to remove dust and cobwebs.
- Clean Spills Promptly: Address spills immediately to prevent staining. Use a mild cleaning solution and a soft cloth for best results.
- Refresh the Paint: If you opted for a painted feature wall, consider refreshing the paint every few years to maintain its vibrancy.
Conclusion
Creating a DIY feature wall in your living room is a rewarding way to personalize your space and express your creativity. By following these tips and techniques, you can transform a blank canvas into a stunning focal point that reflects your unique style. Remember, the most important ingredient in any DIY project is your own personal touch. So, embrace the process, have fun, and don’t be afraid to let your creativity shine!
Now, we’d love to hear from you! Have you ever tackled a DIY feature wall project? Share your experiences and tips in the comments below. And be sure to share photos of your creations – we’re always inspired by your DIY ingenuity!
No products found.
